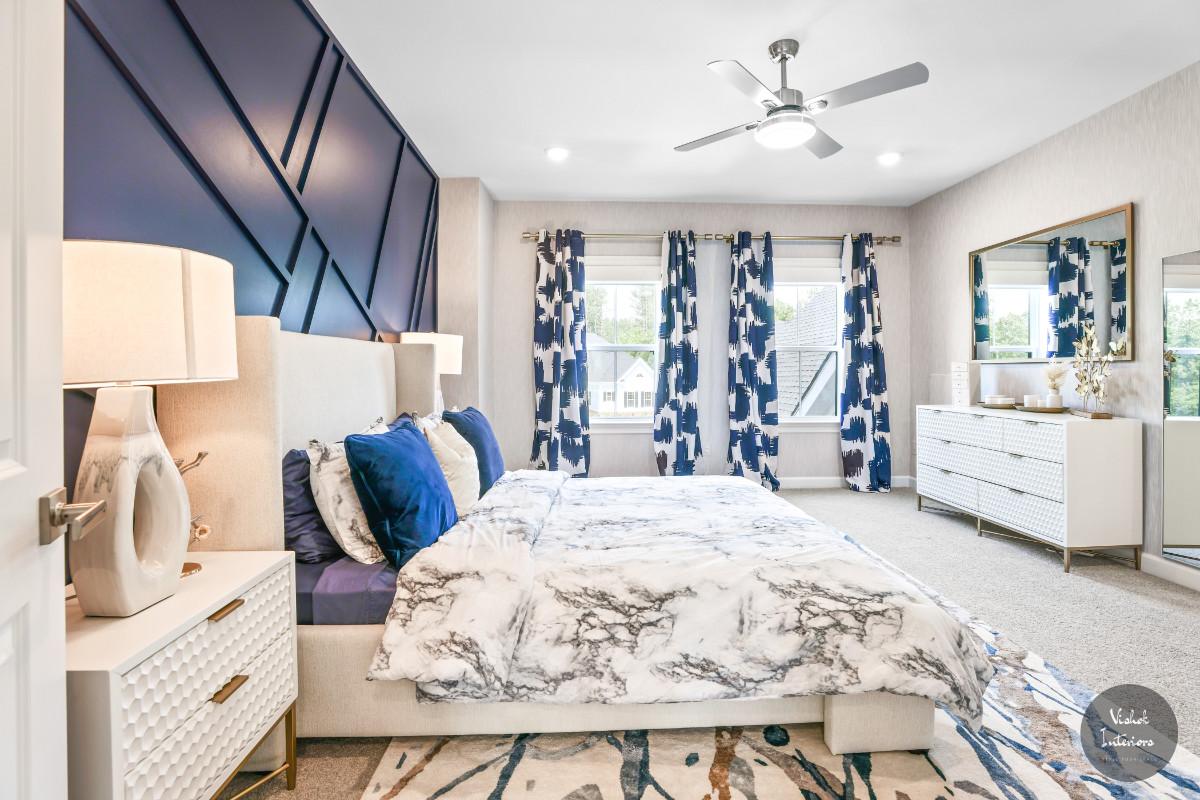
Consultation, Design & Setup(Full Service)
With our experience, over the years we realized that a simple process works best for our clients, giving them the best complete overall result. We follow a simple three-step process, which allows our clients to sit back over the course of their project and trust our team to execute, while still maintaining approvals on overall budget and style.
STEP 1: CONSULTATION PHASE +
Topics covered during consultation often include the project’s scope and the homeowners’ vision for their home. In this session, the designer visits the site in person and:
- Takes a tour of the spaces in the scope of the project and reviews their potential.
- Listens to the challenges the client is facing with the existing space.
- Learn more about the client's vision for the space, how they would like to use it, and would like to feel in the space.
- Discusses the client's lifestyle & needs to understand their style preferences in terms of color, patterns, and textures.
- Discusses the goals, budget, and any existing furniture or decor the client wants to incorporate. Examine the current inventory if there is any existing furniture or decor accent piece that can be repurposed.
- Assesses the space that needs improvement, taking into account its size, shape, architectural features, and natural lighting. They also consider the flow of movement within the room and any functional requirements.
- Establishes a clear perspective of the client’s style, and how they ‘do’ life, and then personalizes and creates a conceptual theme with the best end result in mind.
- Suggests the optimized functional furniture layout considering factors such as traffic flow, focal points, and the purpose of each area within the space.
- Verbally recommends the type of decor items such as lighting fixtures, window treatments, rugs, artwork, accessories, and other decorative elements can be incorporated in the space.
- Explain the full structure and timeline for the next phases(if required).
Note -
In this session, the designer typically likes to cover things like the way the space will layout, the best materials to really showcase the space, the addition of millwork and other architectural elements, furniture pieces, lighting, art, and window coverings. This means that the designer is verbally discussing these elements in the room.
STEP 2: THE DESIGN PHASE +
- Concept Development: Once the scope and budget are established, the designer starts developing initial design concepts based on all the requirements and inputs received from the client in the consultation phase. This will include:
- Creation of a furniture layout plan to help the client visualize the proposed design and the furniture layout in the most optimum way.
- Creation of a mood board displaying all different types of products in the space together so the client can envision how the end result will look like.
- A fully clickable Shopping list is developed that has all products mentioned in the scope of the project. For each product, 3-5 recommendations will be provided in the shopping list. These recommendations will be based on the theme chosen, color, texture, pattern, budget, and reviews.
- Design Presentation: The designer presents the initial design concepts to the client. They explain the design choices, color schemes, furniture options, and any other relevant elements through this presentation showing all three deliverables mentioned above one by one. The client provides feedback and can request up to 2 revisions per product from the provided clickable shopping list.
- Design Refinement: Based on the client's feedback, the designer refines the design, making any necessary changes or modifications until the client is satisfied with the final design proposal.
- Design Implementation: Once the design is approved, the designer proceeds with the implementation phase. This involves:
- Placing orders from the shopping list based on the final selections made by the client.
- Coordinating with contractors for various jobs like any electrical, remodeling, plumbing work or Installations like for chandelier, wallpaper, wall Arts etc.
- The designer ensures that the project stays on schedule and within the established budget.
STEP 3: THE SETUP/INSTALL PHASE +
The styling and staging phase in interior design is the final step of the design process, where the designer focuses on adding finishing touches to the space to enhance its visual appeal and create a cohesive and welcoming atmosphere.
- Furniture Placement: The designer arranges furniture in a way that maximizes functionality and flow within the space. They consider factors such as the room's purpose, traffic patterns, and focal points. The goal is to create a layout that feels balanced and allows for easy movement.
- Accessories and Decor: The designer selects and places decorative items such as toss pillows, throws, rugs, curtains, and other accessories to add texture, color, and visual interest. These elements help to tie the design together and create a cohesive look.
- Artwork and Wall Decor: Artwork and wall decor play a crucial role in enhancing the aesthetics of a space. The designer chooses and hangs artwork or arranges wall decor such as mirrors, shelves, or gallery walls to create focal points, add personality, and complement the overall design theme.
- Styling Surfaces: The surfaces in the space, such as tabletops, shelves, and mantels, are styled with carefully curated items like vases, books, candles, or decorative objects. The designer considers scale, balance, and color coordination to create visually pleasing arrangements that reflect the design theme and add a personal touch.
- Final Touches: The designer reviews the space with a critical eye, making any necessary adjustments or refinements. They pay attention to details such as the alignment of furniture, the neatness of accessories, and the overall visual harmony of the room.
- Photography and Presentation: After all the styling is done, the designer arranges for professional photography to capture the final design for portfolios or marketing purposes. They ensure that the space looks its best in photographs, highlighting the design elements and features.


